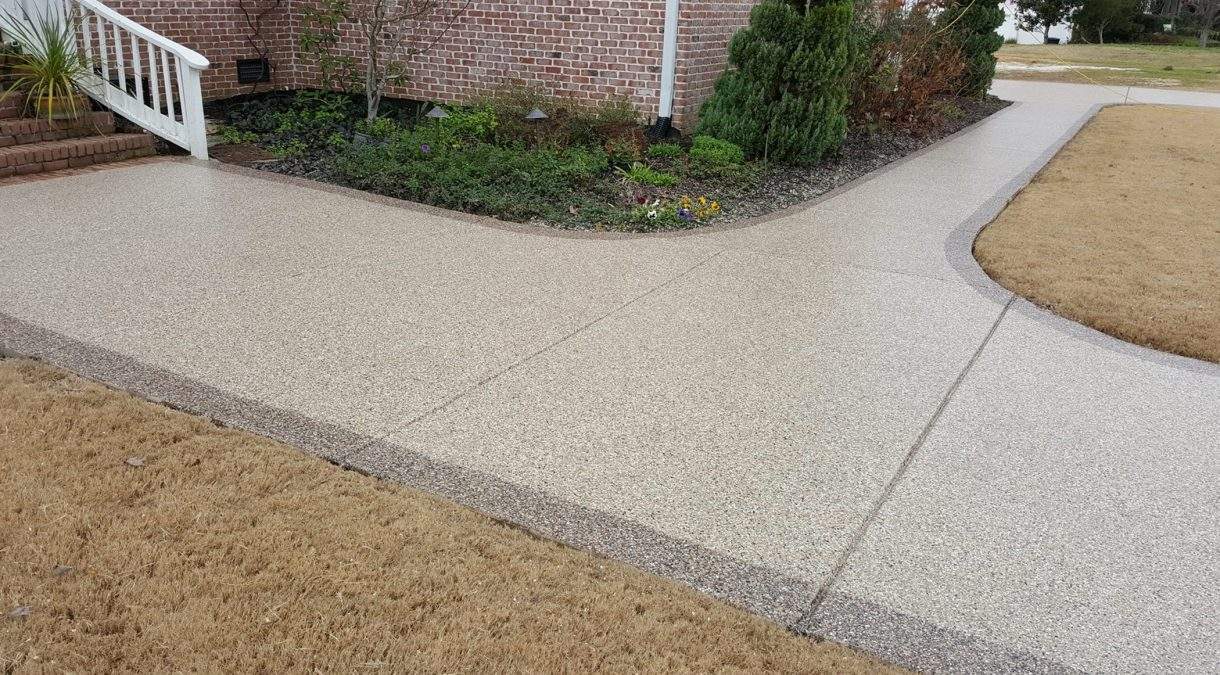
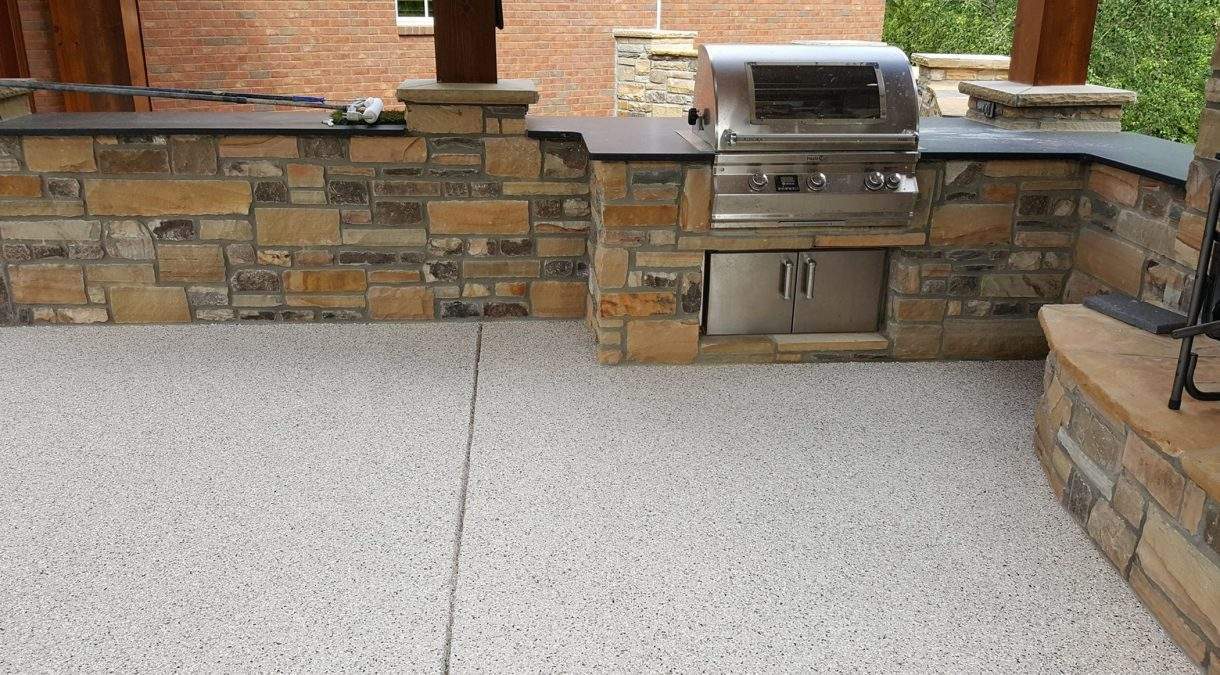
E2U's One Day Garage System

It's never been easier or faster to install beautiful garage flooring!

The E2U One Day Garage System offers a fast, simple, and cost-effective solution to safeguarding and refurbishing your garage floors. Utilizing high quality components, our system ensures greater durability and affordability than ever before. Plus, with our rapid cure line of products, you can complete an entire garage floor in one day.


ONE DAY GARAGE PRODUCTS

ONE DAY GARAGE PRODUCTS


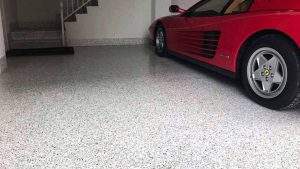
Before & After Photos Of Our One-Day Garage System 


Before & After Photos Of Our
One-Day Garage System 

What makes E2U's One Day Garage System the best in the business?

  • Durability. Our epoxy is tough enough to endure the highest traffic, it will not chip, peel, dent or scratch. It resists mud, grease, oil, road salt and more. It also resists staining, yellowing and fading, and comes in an impressive selection of colors to match your décor.

  • Affordable. We offer product options, competitive pricing, and incentives to save you money on a new garage floor coating. Whether for your home or business, we think you’ll be pleasantly surprised at how affordable a new E2U garage can be!

  • Fast installation. Looking for a floor coating that won’t take days or weeks to cure? E2U's One Day Garage Floor System can be walked on in just a few hours and driven on within 24 hours of job completion. *Temperature may affect curing time.

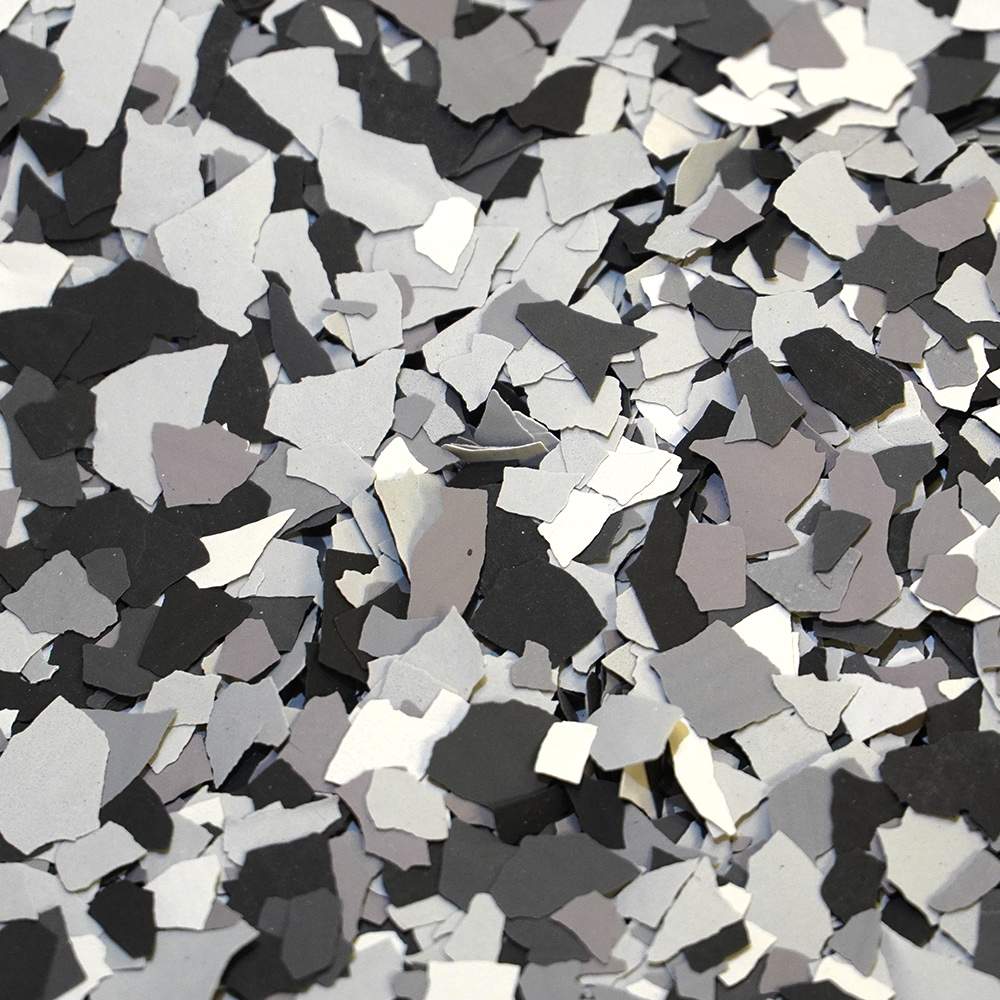
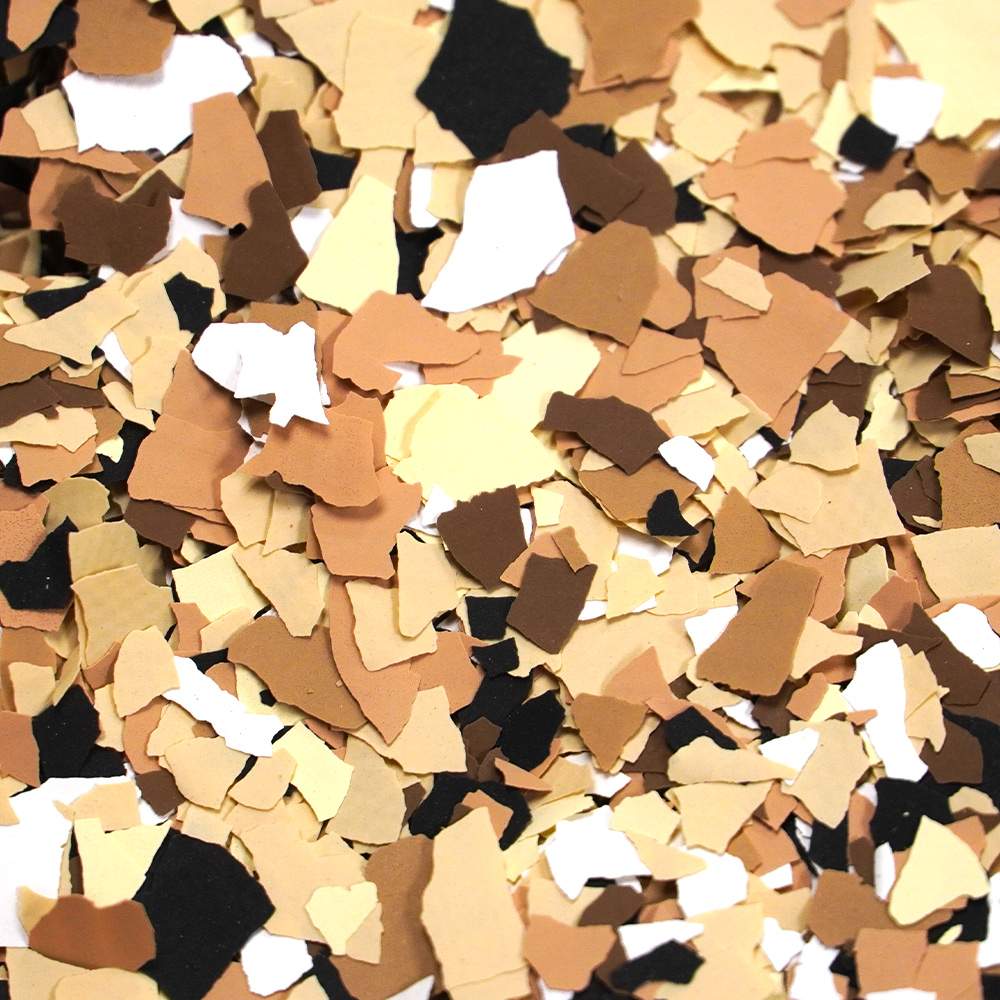
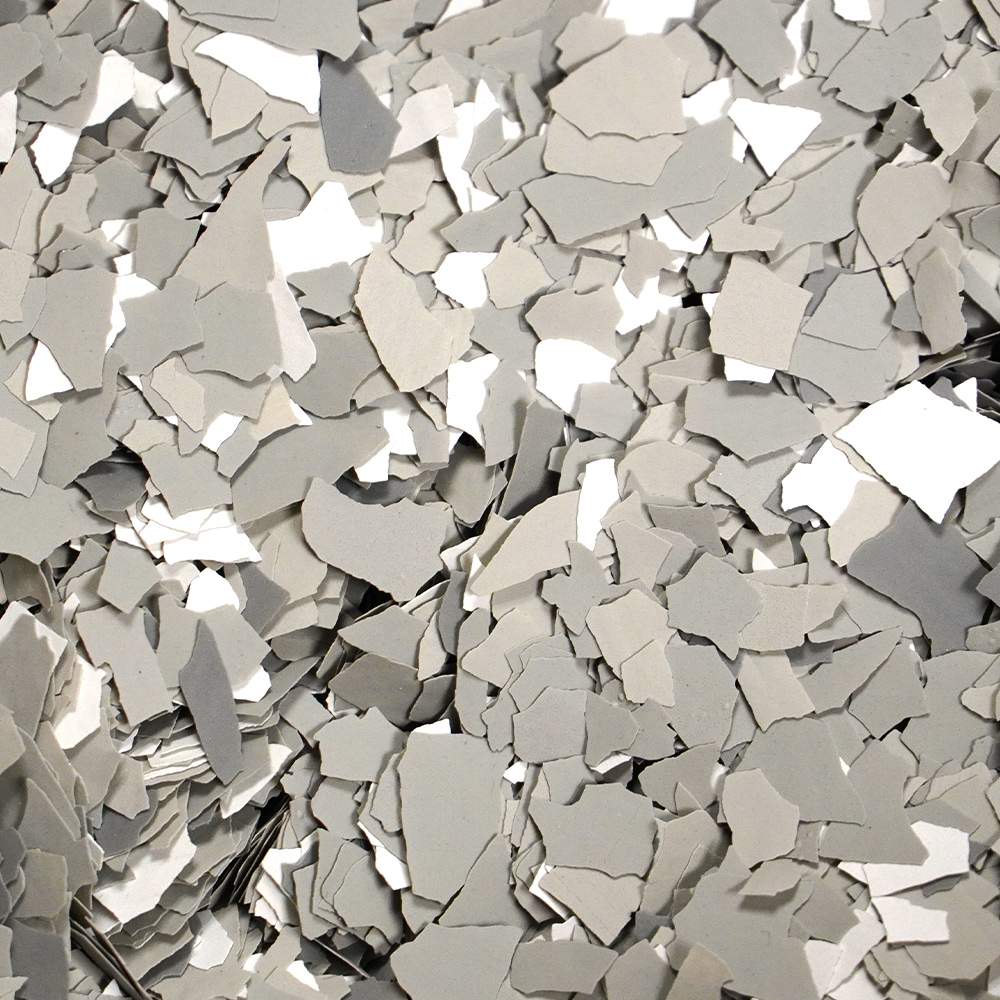
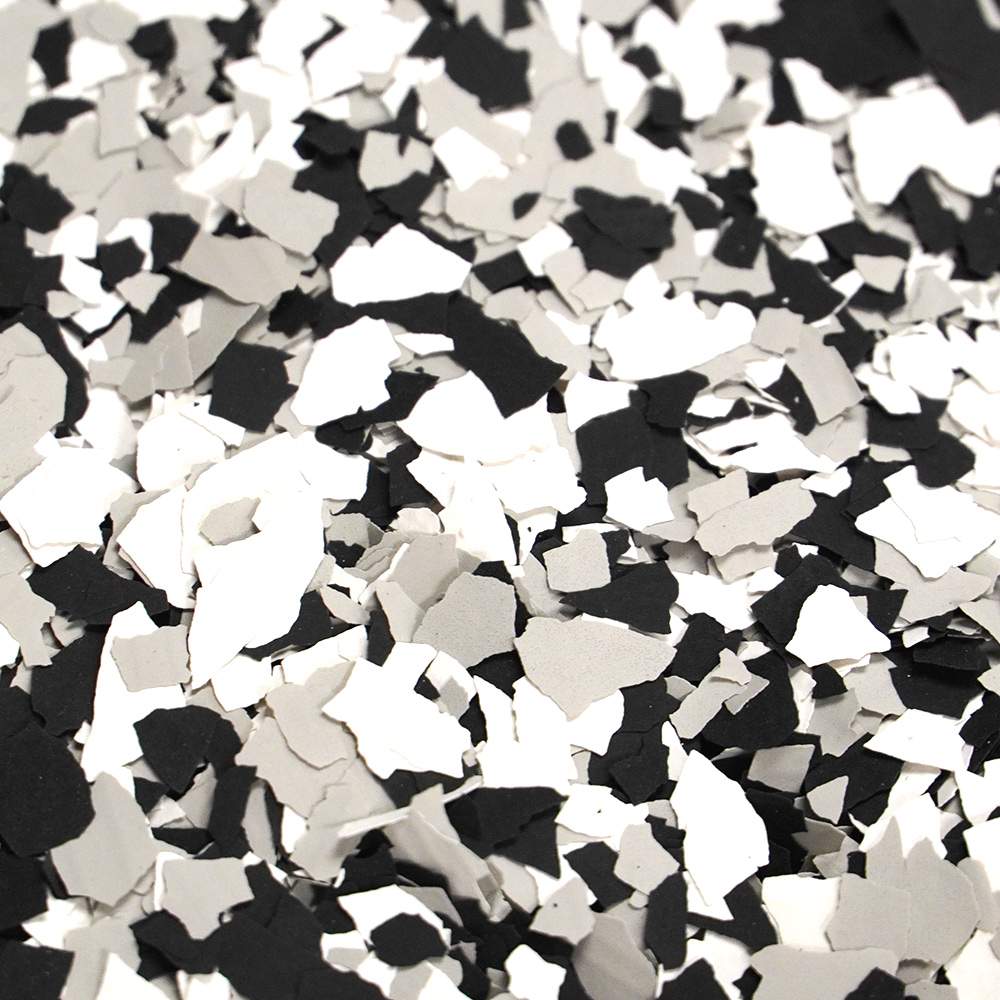
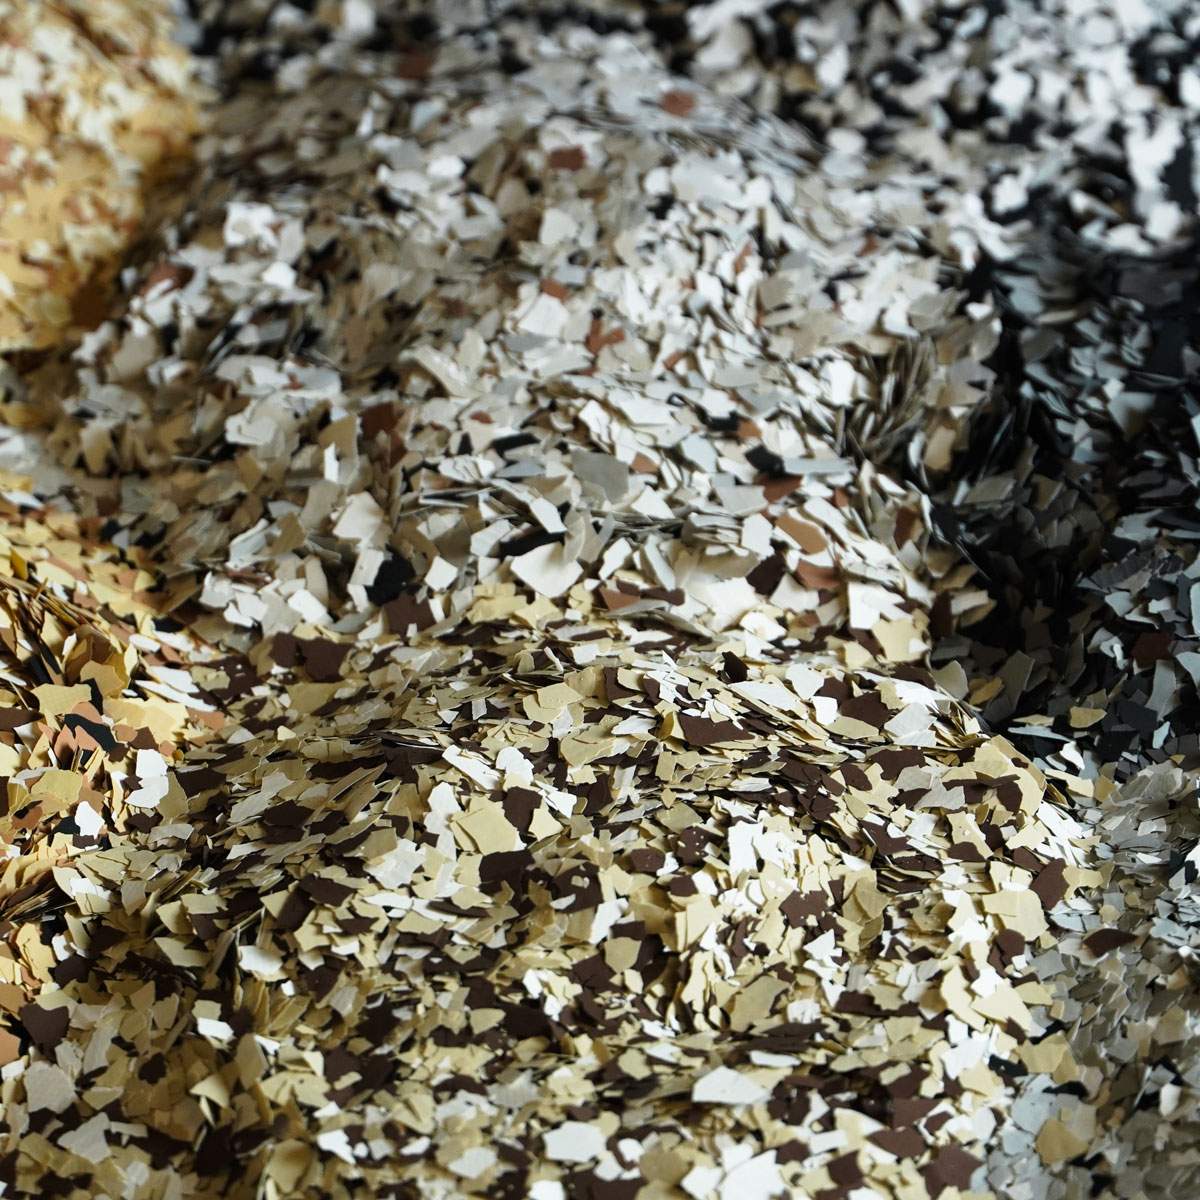
  • Application For a partial broadcast, you can apply the flake system at the rate of 20 sq./ft. to 200 sq./ft. of floor coating per lb. of flakes. For full broadcast to refusal it takes substantially more, 10 sq./ft. per 1 lb. Full broadcast means flakes are applied so heavy that the coating can’t absorb anymore and they are sitting on the surface.
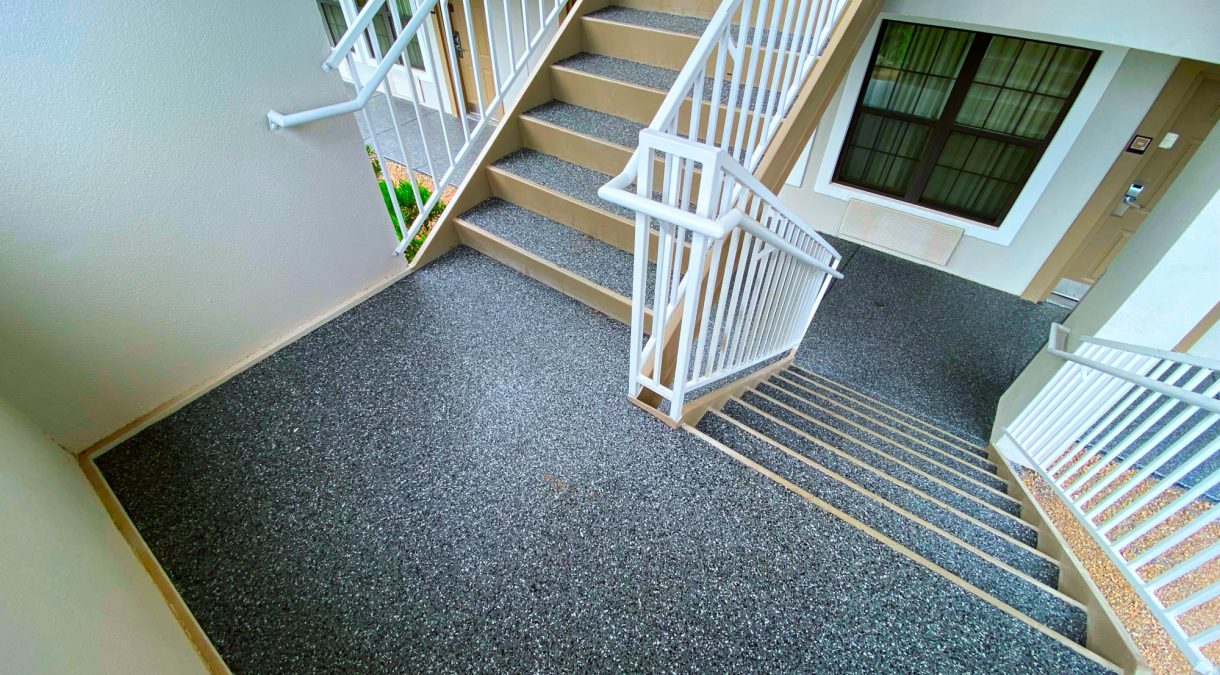
  • Enhanced Safety. E2U's One Day Garage flooring textures the surface of the concrete, increasing the grip of the flooring and decreasing the chances of slip-and-fall accidents

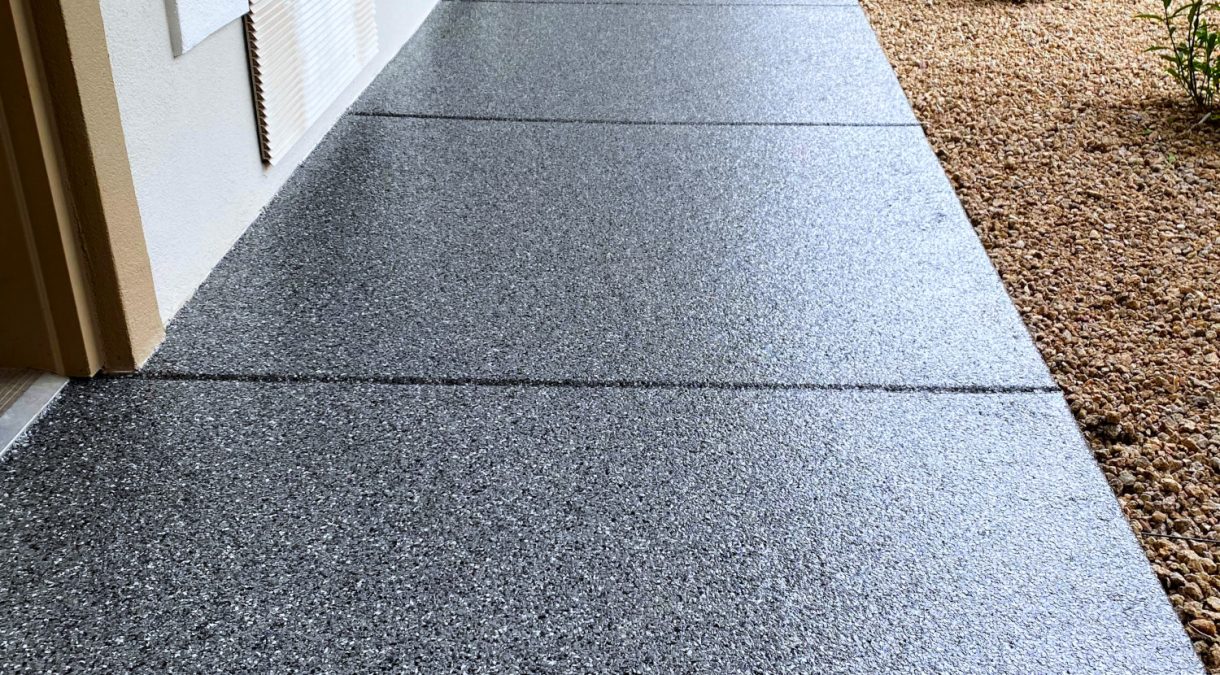
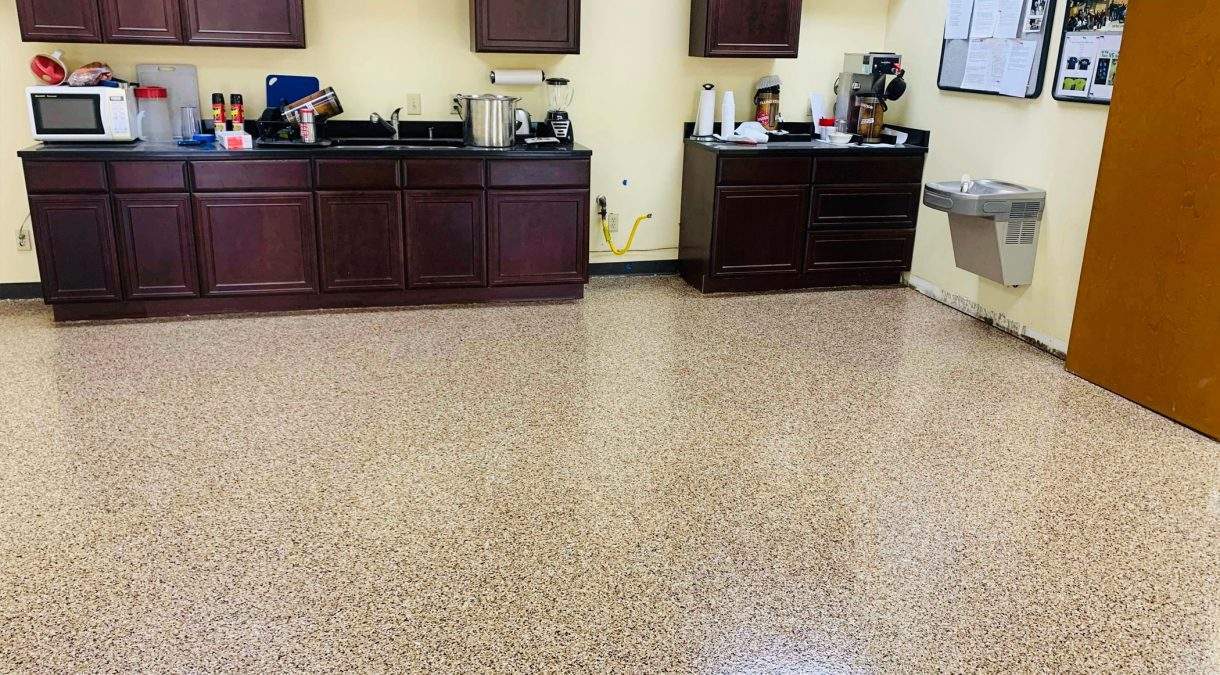
  • Versatile. E2U's One Day Garage system can be installed in a wide variety of residential applications, from the standard two-car garage to basements and outdoor living areas. They’re also tough enough to stand up to commercial environments with heavy traffic, including warehouses, automotive shops, office areas, schools and more.

  • Impressive Warranties. We proudly offer a limited lifetime warranty on labor, fading, and yellowing for any of our concrete garage floor coatings

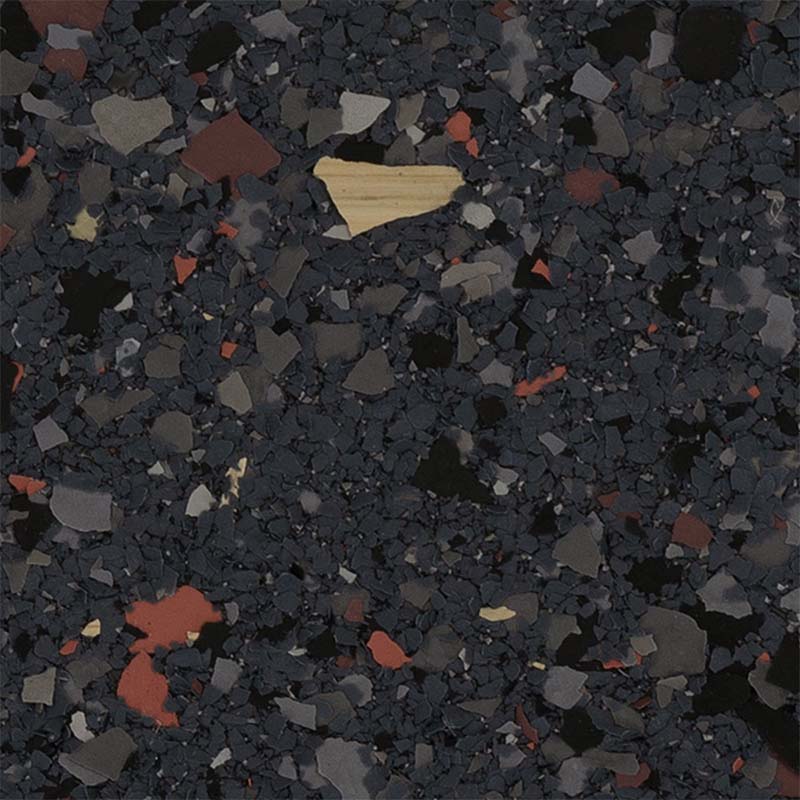
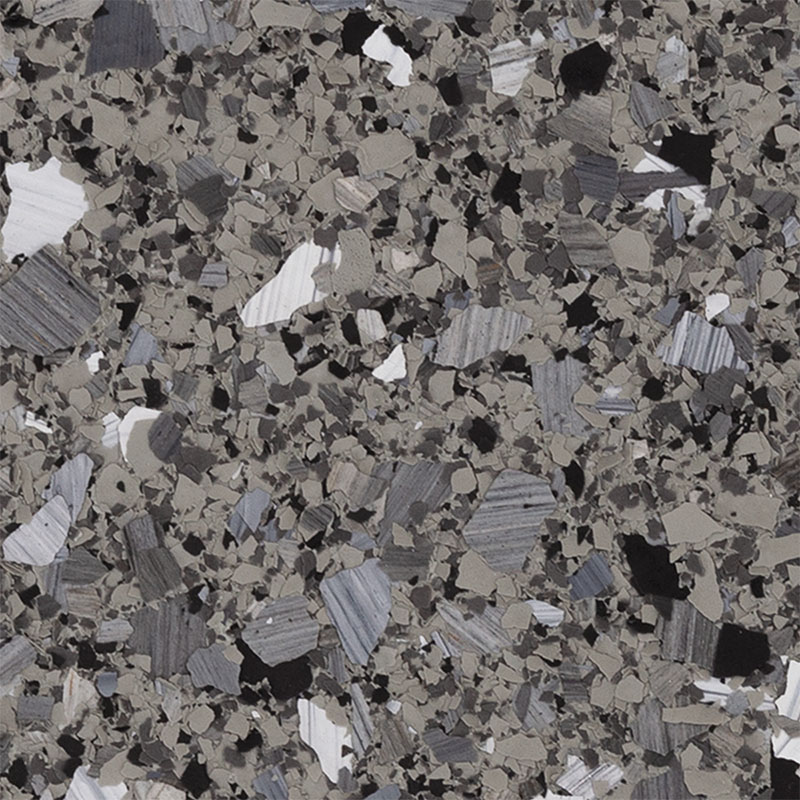
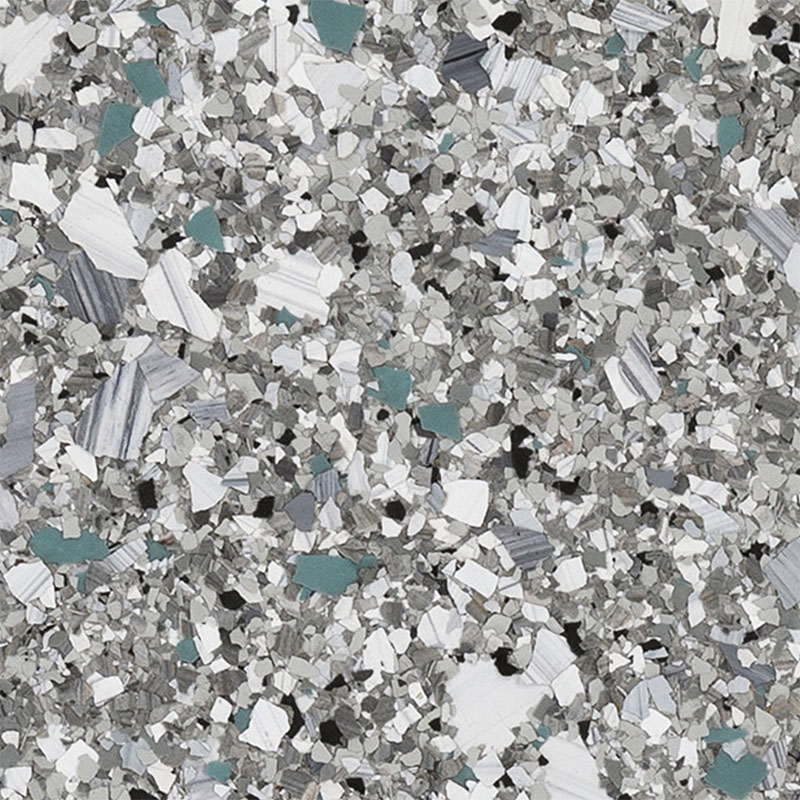
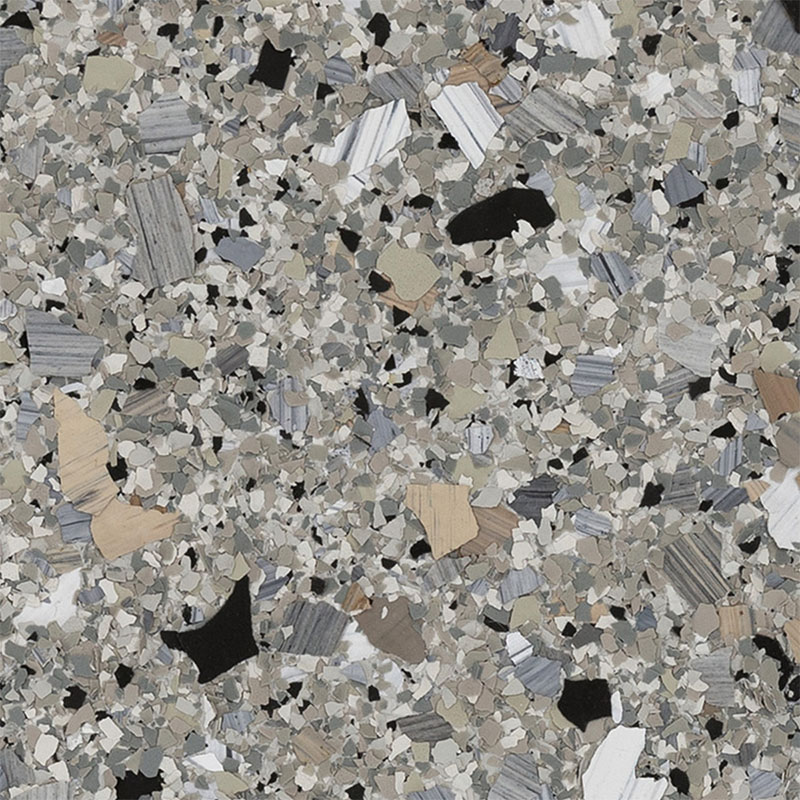
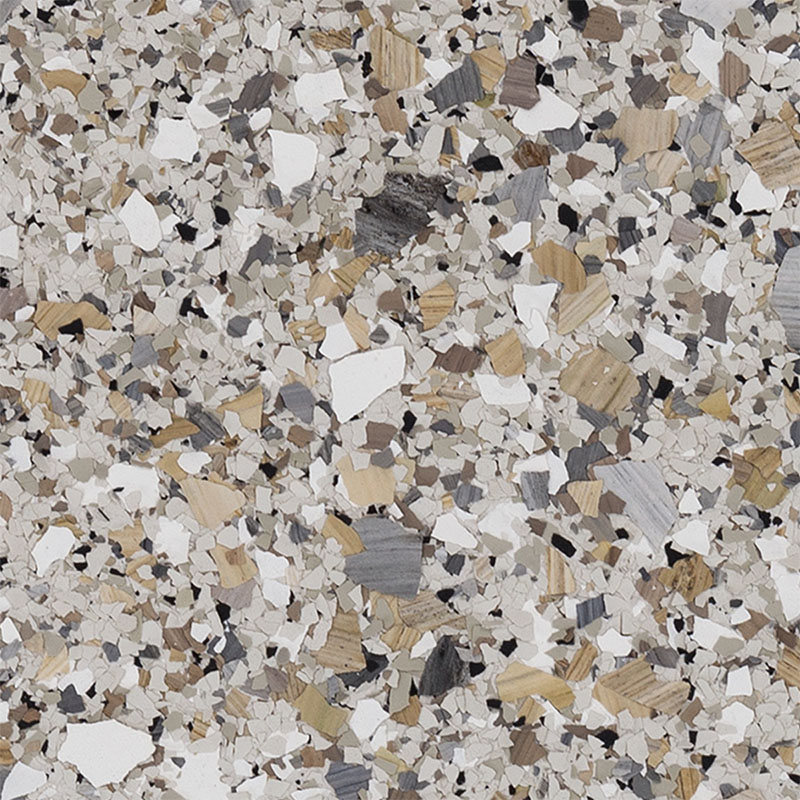
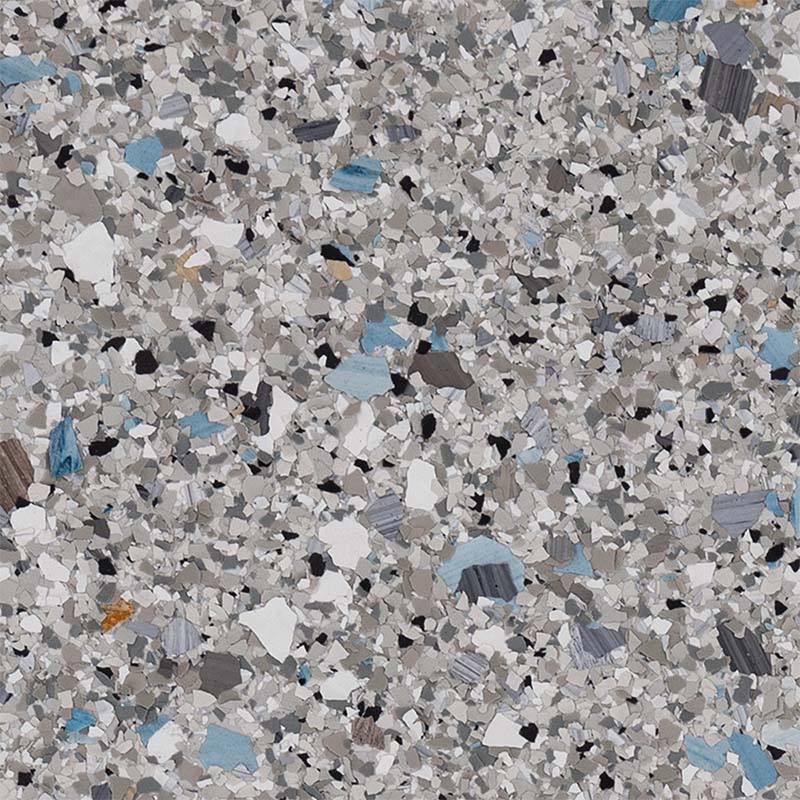
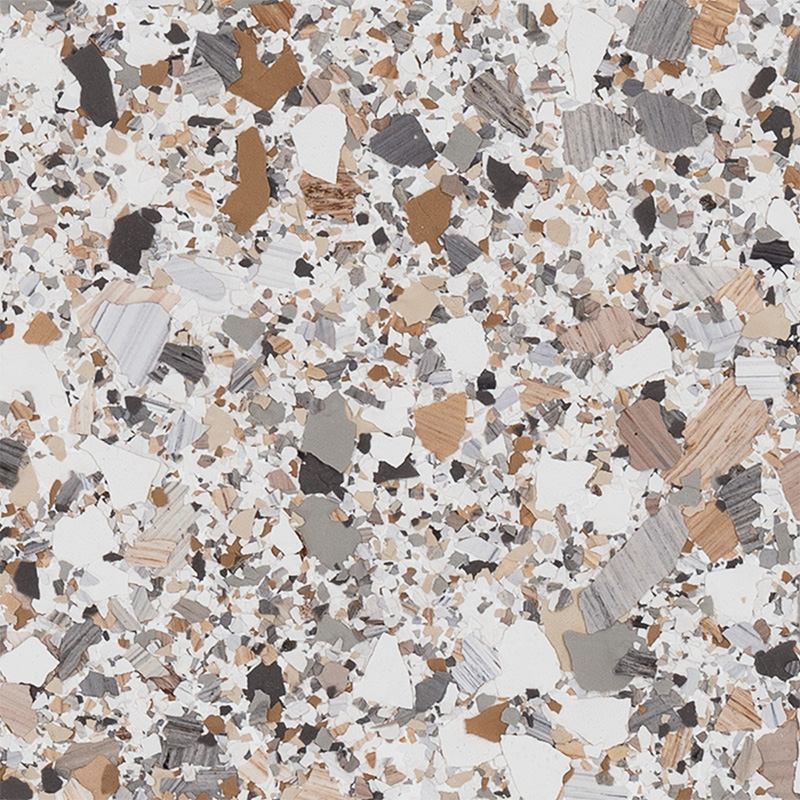
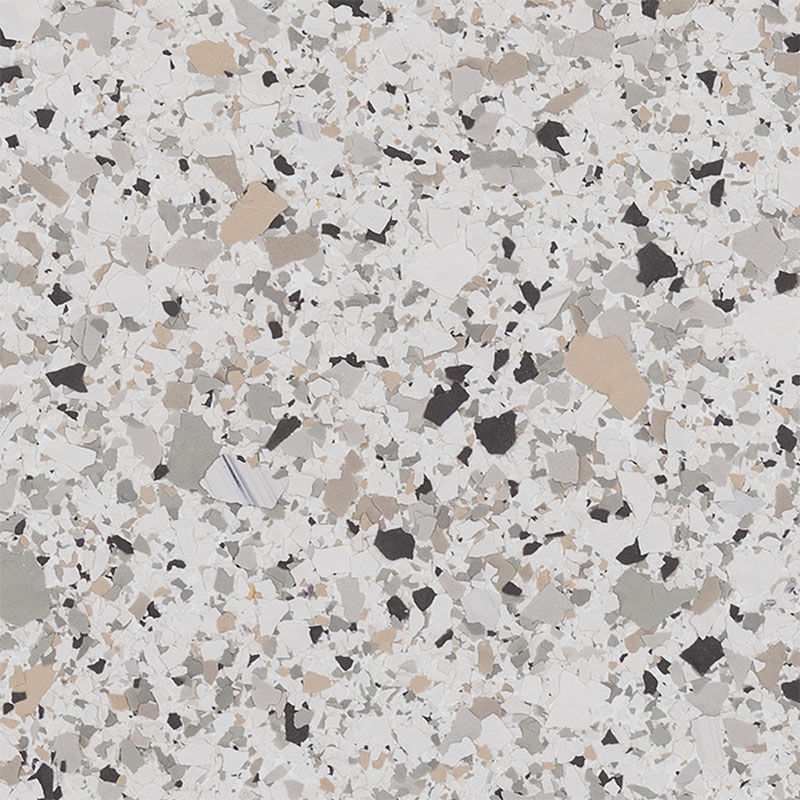
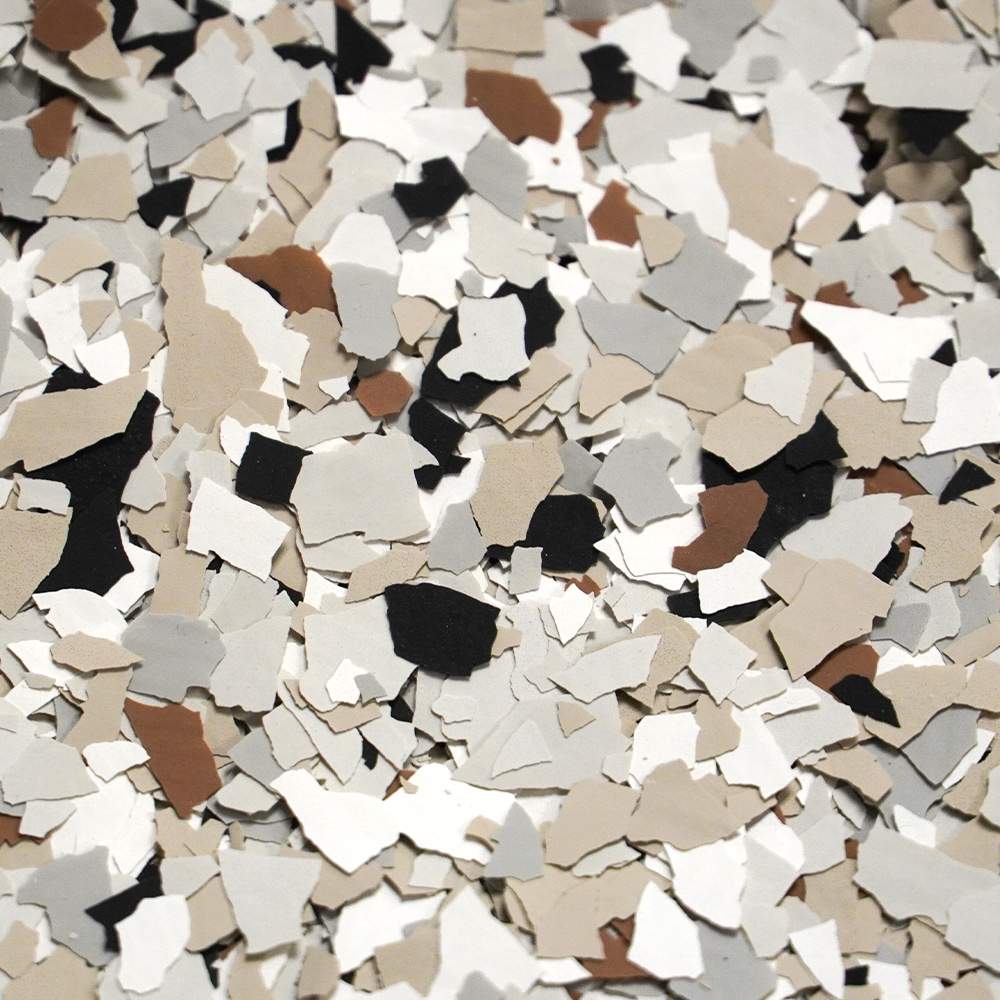
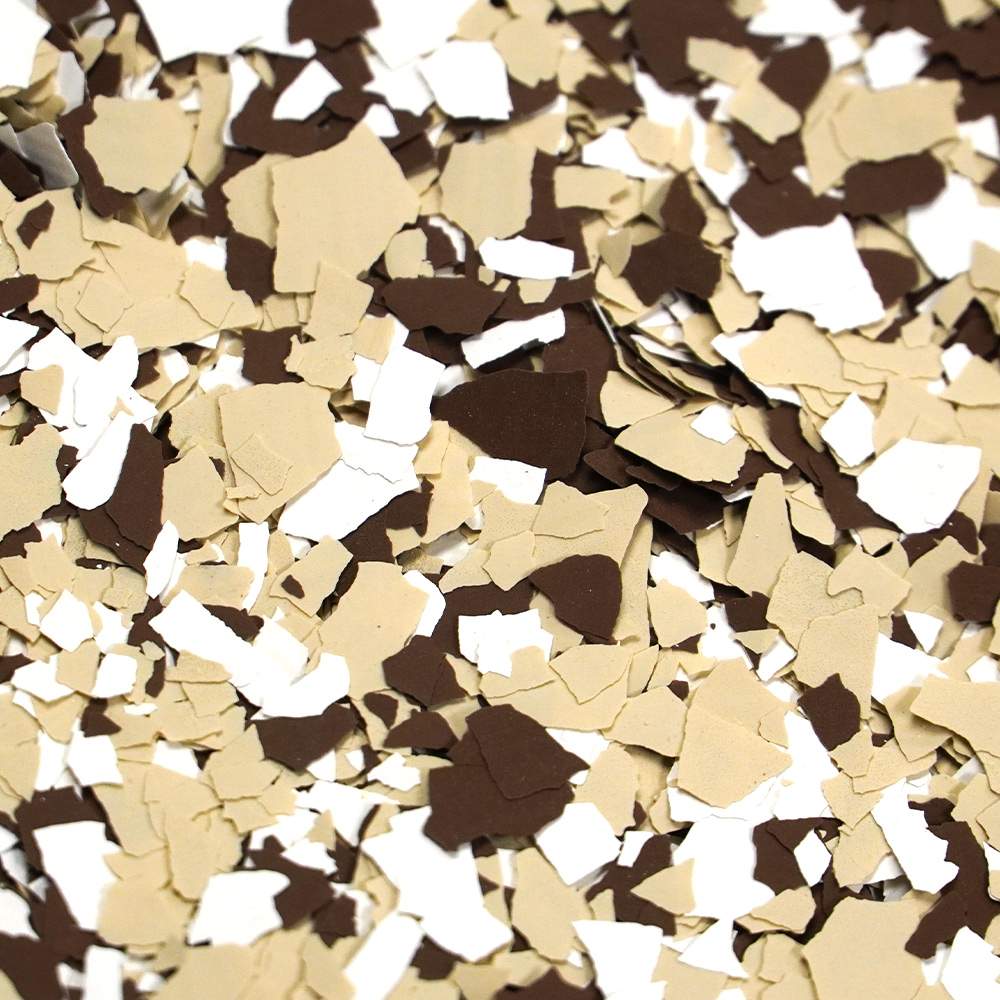
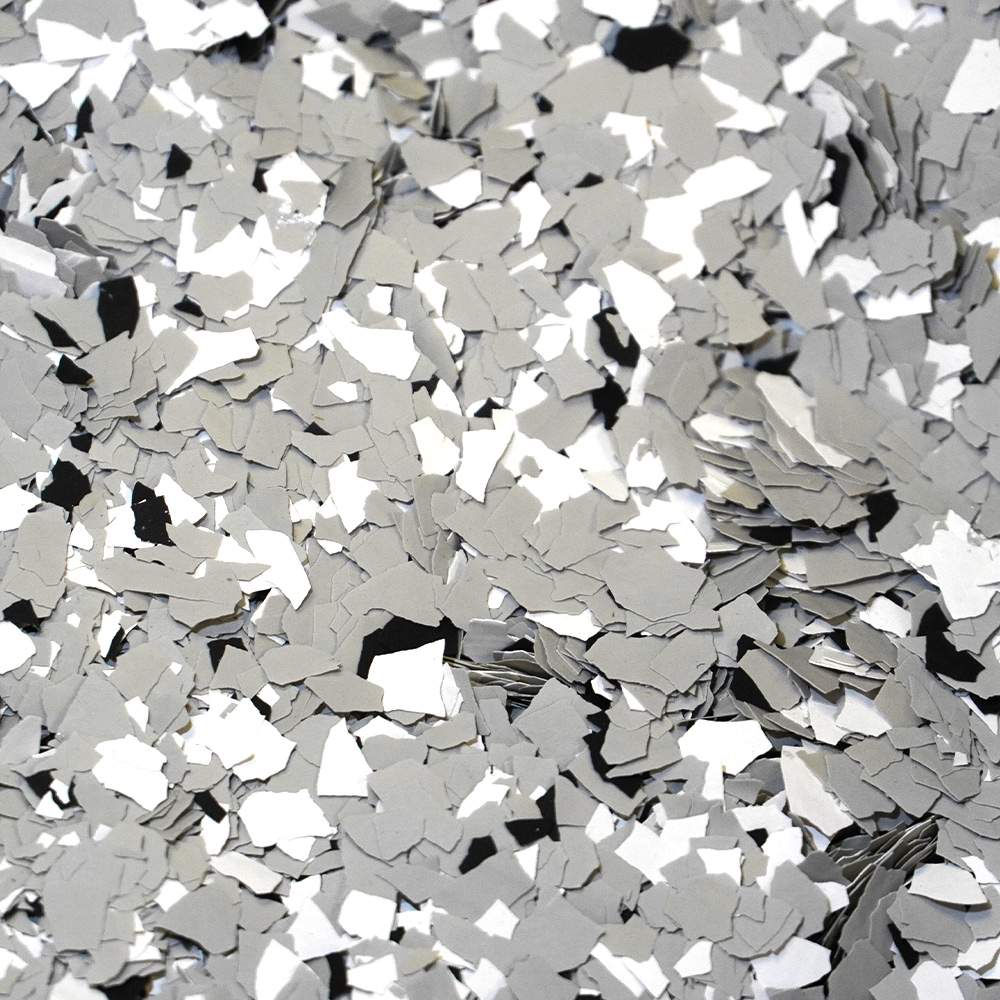
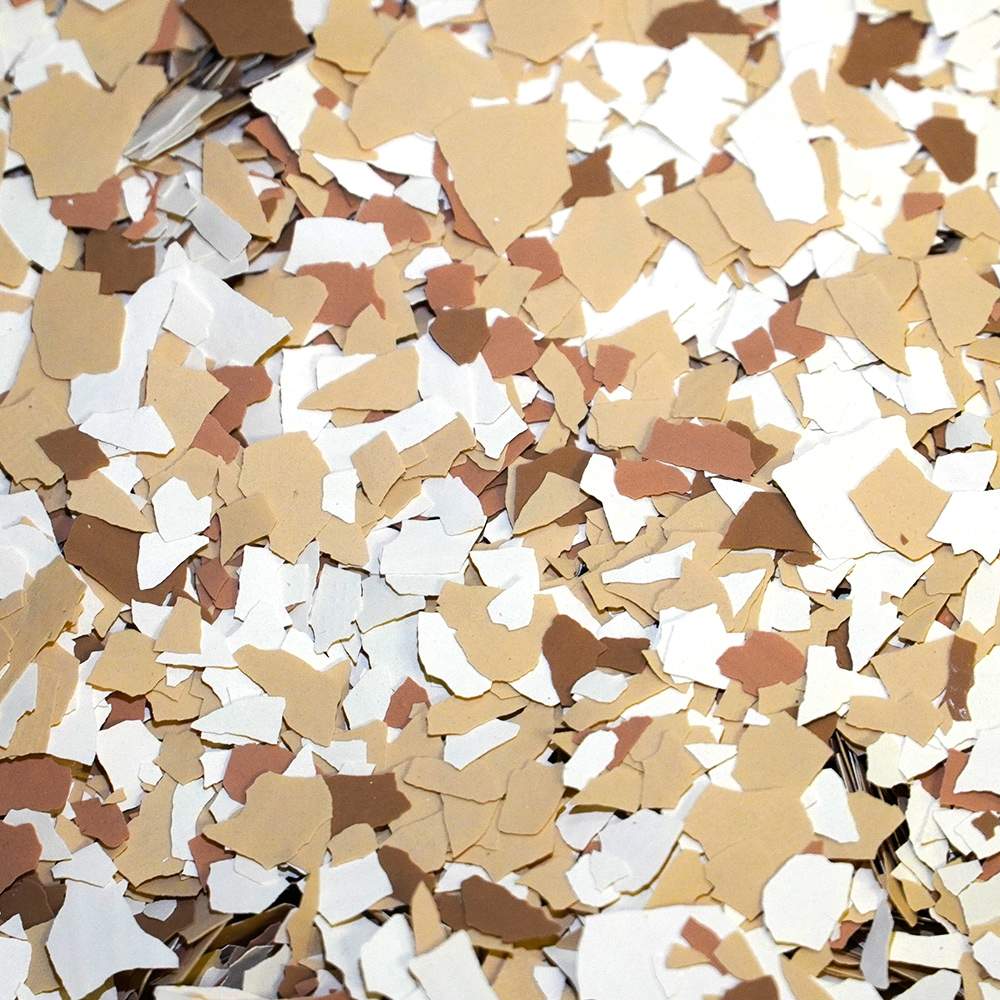
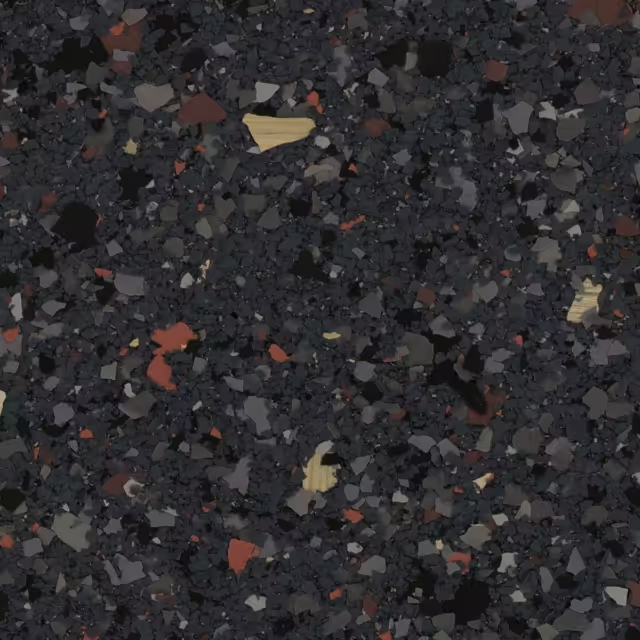
  • Advantages Decorative natural stone look,Hide sub-surface imperfections, 8 different pre-mixed color blends to choose from, Optimal flexibility and strength, Colorfast, UV stable pigments, Low sound / noise deadening qualities, 1/4" size chips
  • E2U's Installation Steps

    One Day Garage

    Installation steps

    STEP ONE

    SURFACE PREPARATION

    Surface must be diamond ground to a CSP (Concrete Surface Profile) rating of “2”... Roughly the feel of 100 Grit Sandpaper. This is only attainable by using 30 Grit Diamonds using the proper bond of diamond (Soft, Medium, Hard) commensurate w/the surface hardness of the slab.

    STEP TWO

    CONCRETE RECONSTRUCTION

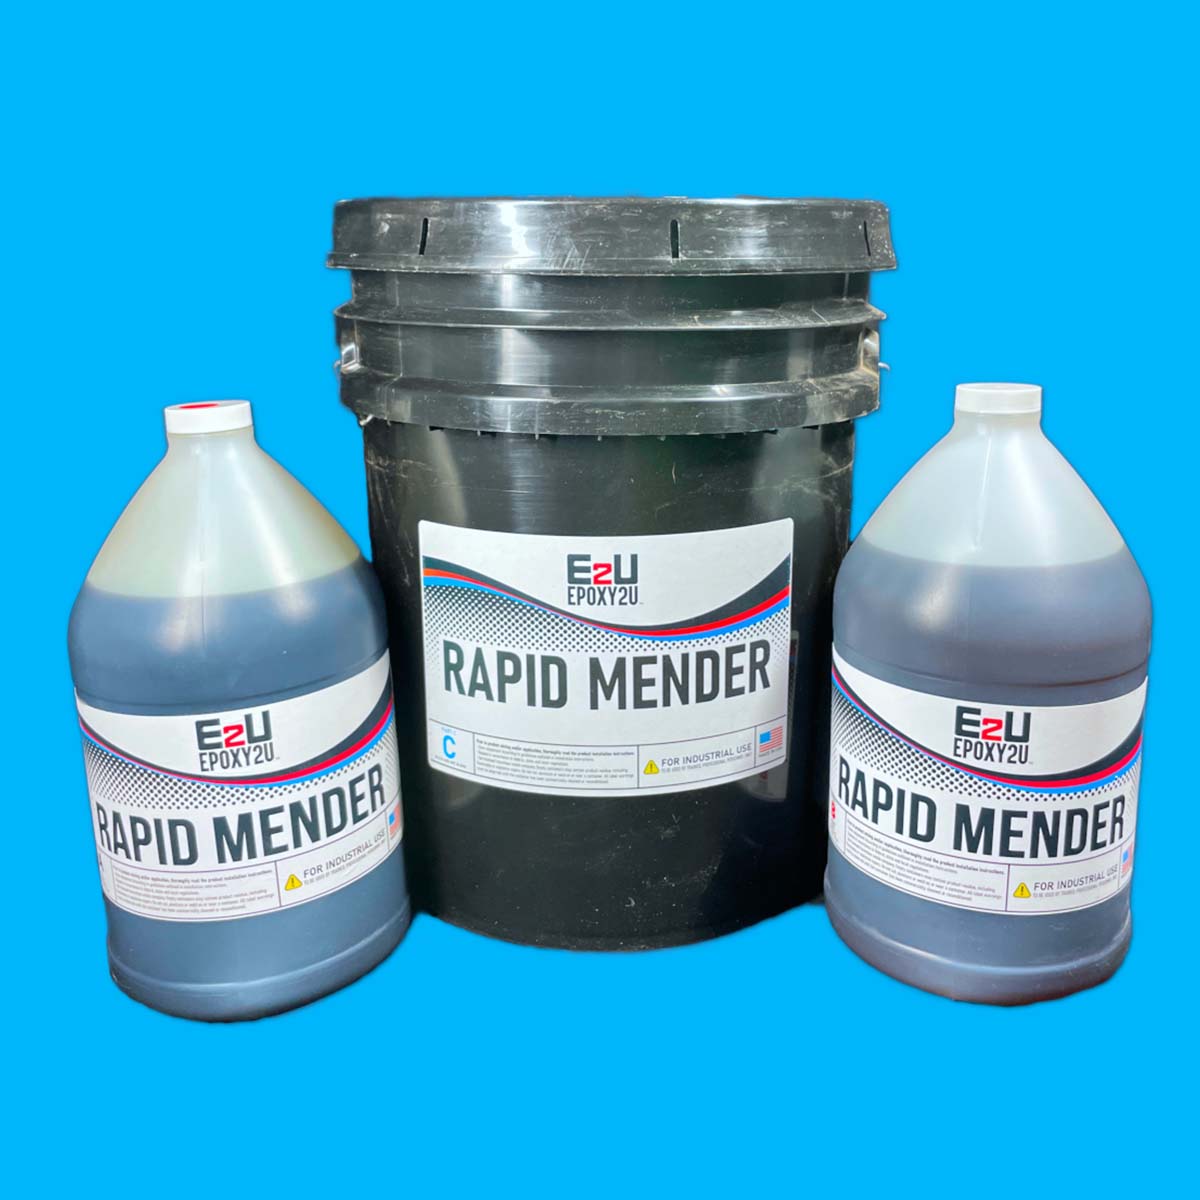
    Next, any serious cracks, chips, or spalls in the concrete must be repaired before applying epoxy. Simply use a concrete patching product to fill minor cracks and chips. Let product fully cure before proceeding to next step.

    STEP TWO

    CONCRETE RECONSTRUCTION

    Next, any serious cracks, chips, or spalls in the concrete must be repaired before applying epoxy. Simply use a concrete patching product to fill minor cracks and chips. Let product fully cure before proceeding to next step.

    STEP THREE

    APPLY BASECOAT

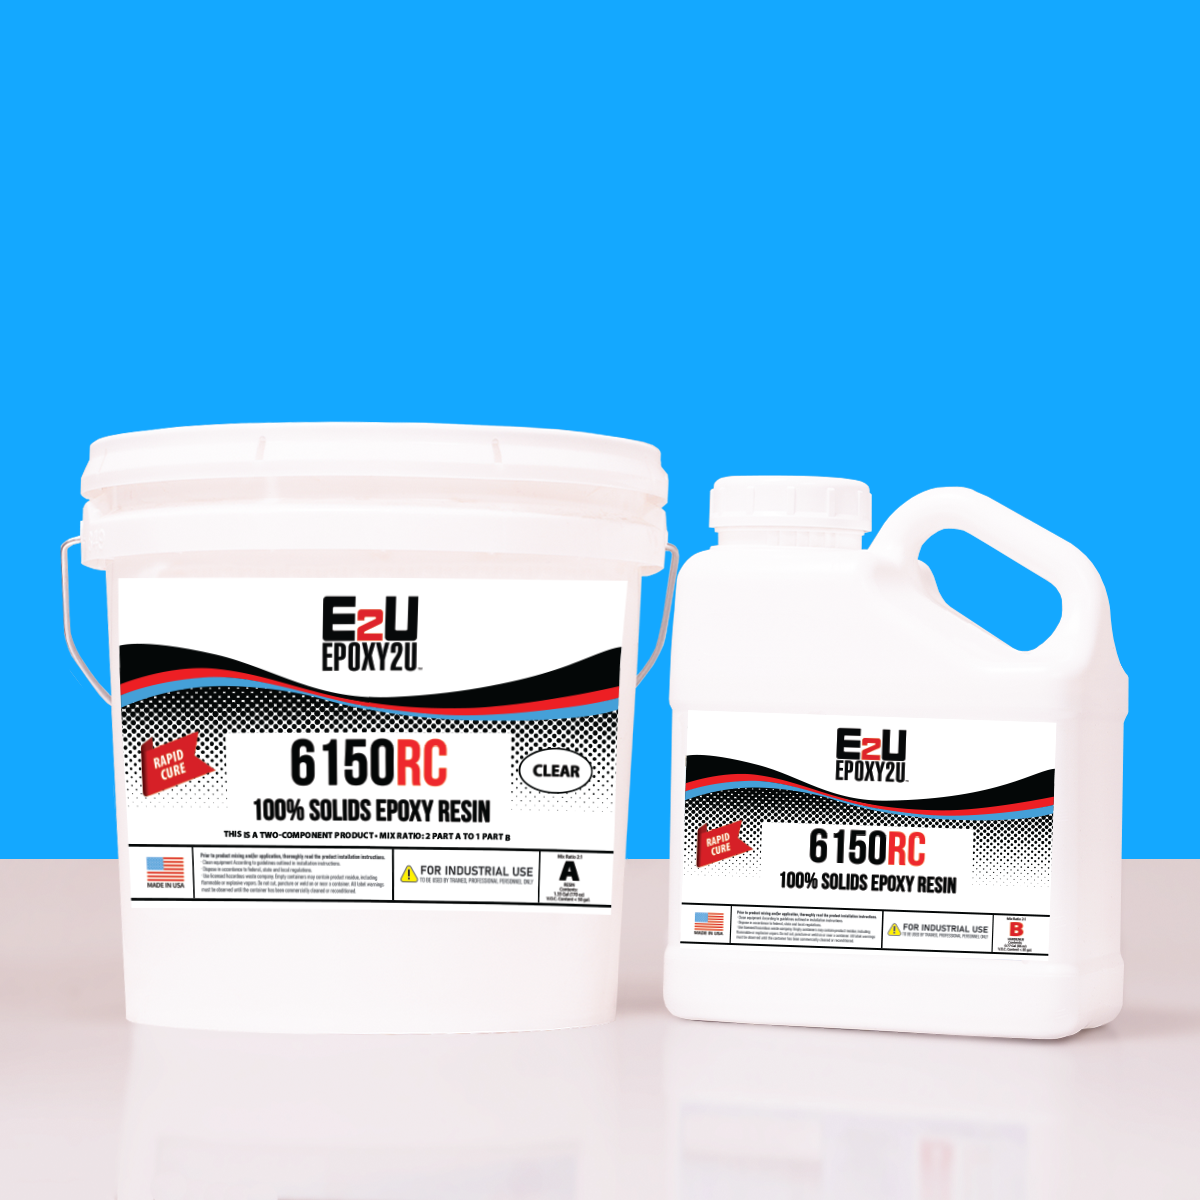
    Combine the two-part epoxy and mix. Then, spread mixture evenly over concrete for 100% coverage. Note: Temperature may determine how long this step takes.

    STEP THREE

    APPLY BASECOAT

    Combine the two-part epoxy and mix. Then, spread mixture evenly over concrete for 100% coverage. Note: Temperature may determine how long this step takes.

    STEP FOUR

    SPREAD FLAKE

    While the epoxy is still fresh, begin spreading the flake evenly and generously. Tip: Grab a handful and toss the flake up & out, not straight down.

    STEP FOUR

    SPREAD FLAKE

    While the epoxy is still fresh, begin spreading the flake evenly and generously. Tip: Grab a handful and toss the flake up & out, not straight down.

    STEP FIVE

    FINAL PREP

    Review flake coverage from different angles for an even coat, add more if necessary. Scrape and recover excess flake.

    STEP FIVE

    FINAL PREP

    Review flake coverage from different angles for an even coat, add more if necessary. Scrape and recover excess flake.

    STEP SIX

    APPLY HIGH GLOSS FINISH

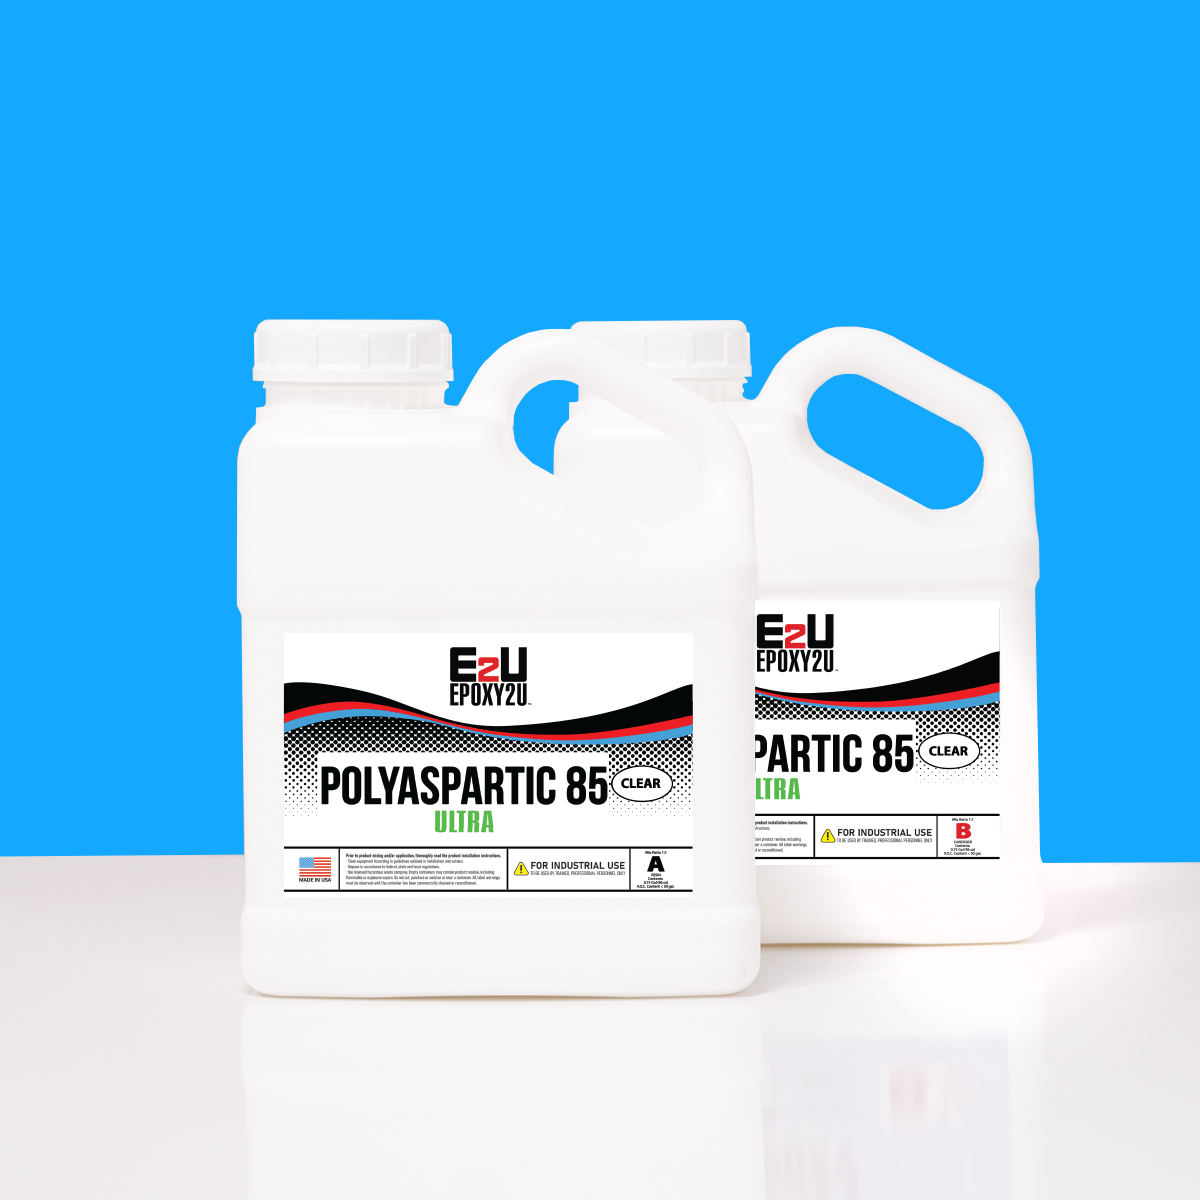
    Finally, mix and apply Poly 85 top-coat for a beautiful finish.

    STEP SIX

    APPLY HIGH GLOSS FINISH

    Finally, mix and apply Poly 85 top-coat for a beautiful finish.

    TRANSFORM YOUR SPACE IN JUST ONE DAY

    • flake flooring
    • flake flooring
    • epoxy flake floors
    • flake floor

    Our One Day Garage System is a great choice for those who don’t want to give up the use of their garage for several days.

    TRANSFORM YOUR SPACE IN JUST ONE DAY

    • flake flooring
    • flake flooring
    • epoxy flake floors
    • flake floor

    Our One Day Garage System is a great choice for those who don’t want to give up the use of their garage for several days.

    Send us a message today!
    Quick Contact Form

    Name(Required)
    This field is for validation purposes and should be left unchanged.