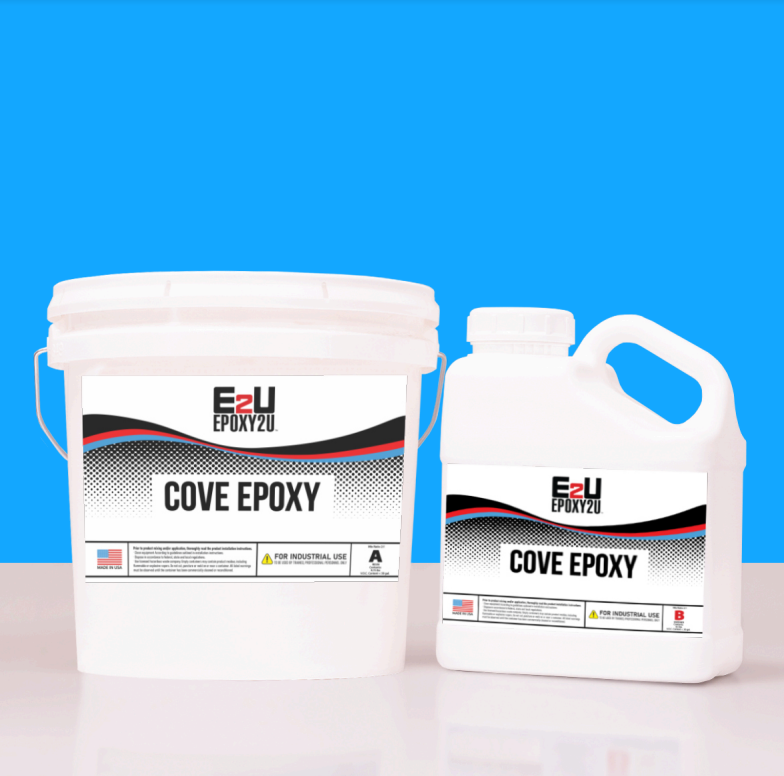
Cove Epoxy
$175.00 – $342.50
-
E2U cove base 100% solids pre-thickened epoxy. Specially formulated and designed for coving anywhere from 4 to 6 inches high. This product is designed to be non-shrink, non-sag giving a seamless floor to wall transition
COVE EPOXY 2 COMPONENT | 2 TO 1 MIX RATIO
PRODUCT DESCRIPTION
E2U cove base 100% solids pre-thickened epoxy. Specially formulated and designed for coving anywhere from 4 to 6 inches high. This product is designed to be non-shrink, non-sag giving a seamless floor to wall transition.APPLICATIONS
The uniqueness and universality of E2U Epoxy’s chemistry facilitates the applications where USDA Food & Beverage and other regulatory requirements must be obtained. Areas of use include: Garage floors, Showrooms, Hotel Lobbies & Entryways, Exhibition halls, Restaurants, Retail/Commercial Venues, Industrial Kitchens and Clean Rooms.ADVANTAGES
• easy to apply • chemical resistant • excellent adhesion to most surfaces • zero voc • low odor • complies with usda osha and fda requirements.PRODUCT DATA
Volumetric Ratio: 2 to 1 Solids: 100%(+/- 1%) Coverage: 32-37 Linear Ft. @ 4" H x 1/8" thick x 1" radius 30-35 Linear Ft. @ 6" H x 1/8" thick x 1" radius Based on a 3 quart mix (2 Parts A to 1 Part B) VOC: < 50 g/l Application Temperature: 55°-90°F Thinning: Not Required Pot Life: 15- 20 min. Working Time on Floor: 15-20 min. Cure Time: 7 days Critical Re-Coat Time: 10 - 12 Shelf Life: 12 months USDA Food & Beverage: Meets Req.APPLICATIONS
The uniqueness and universality of E2U Epoxy’s chemistry facilitates the applications where USDA Food & Beverage and other regulatory requirements must be obtained. Areas of use include: Garage floors, Showrooms, Hotel Lobbies & Entryways, Exhibition halls, Restaurants, Retail/Commercial Venues, Industrial Kitchens and Clean Rooms.ADVANTAGES
• easy to apply • chemical resistant • excellent adhesion to most surfaces • zero voc • low odor • complies with usda osha and FDA requirementsPACKAGING
3 GALLON
Part A : 2 GAL Part B: 1 GAL1.5 GALLON
Part A : 1 GAL Part B: 0.5 GALCONCRETE PREPERZERO VOCATION
Before coating is applied, concrete must be: • Dry – No wet areas • Clean – Contaminants removed • Profiled – Surface must be diamond ground to a CSP (Concrete Surface Profile) rating of “2”... Roughly the feel of 100 Grit Sandpaper. • Sound – All cracks and spalled areas repaired Note: Mechanical preparation is the preferred method of preparing concrete for coating application. Shot-blasting, diamondPATCHING
Voids, cracks and imperfections will be seen in finished coating if the concrete is not patched correctly. E2U’s Joint Filler (Crack Repair) and/or E2U’s Rapid Mender to fill cracks and imperfections. After the materials are cured, diamond grind patch. If another patching material is used, contact a E2U technical representative for a compatible and approved alternative.TESTING
All surfaces are not the same. It is recommended that a sample area be done before the start of the project. The test should be done on-site, using the proposed method by the assigned applicator to insure proper adhesion and color. A sample area should also be done on any existing coatings to determine if any contaminants exist or if delaminating will occur.MIXING
Priming: Mix 2 part A to 1 part B with no aggregate. Mix only what you need to brush or roll one thin coat(approx 200sf/gal or 6-8mil) to coving area. Cove Blend: Ideal epoxy temp should be between 70 - 85 F for maximum ease of use. Mixing 2 parts A to 1 part B in a 5 gallon bucket, blend desired amount of epoxy for the amount of coving you will apply. After blending A and B for approximately 30 secs, slowly blend in aggregate at a mix ratio of 5-7 parts of aggregate to 1 part of mixed epoxy, depending on desired viscosity thickness.APPLICATION INSTRUCTIONS
Step 1, The substrate must be clean, solid and porous. The substrate must be free of paint, sealers, oil, grease or any other contaminants that will interfere with the soaking in of the epoxy primer. Be sure the floor and wall in the areas near the cove are clean. That will help prevent dragging dirt and other contamination into the cove and make the tape to mask the cove stick better. Step 2, Cove is typically installed at 4 inches high, but specialty applications may be as little as 2 inches or as much as 6 or 8 inches or even more. Once you know the height of the cove it must be decided if the top of the cove will follow the contour of the floor or be level on the top. Most floors look best with a level top to the cove. Strike a line with a laser level or a chalk line. Mask with a strong firmly bonding tape like duct tape. Be sure it is pressed down and securely stuck to the wall. Step 3, Apply the primer on to the area to receive cove. This application is typically done with a brush or mini roller. It is important not to put the primer on too thick or it will run. You just need to have enough primer to give the surface to receive the cove a wet look. If you have a very porous substrate and the primer soaks in and doesn't look wet, a second coat of primer may be required. A typical substrate that will sometimes need a second is sheetrock. If a second coat of primer is required it must be put on before the first coat has hardened. Step 4, After the primer gets tacky and before the primer gets tack free (typically 30 mins) you will need to install your E2U Cove Epoxy. Using a margin trowel "rough in" the cove mix material onto the wall where the cove is going. Be careful not to lift the tape creating the top seal in the process. Smooth the cove to shape using a cove trowel. After the cove starts to get slightly stiff it is time to make a final pass at smoothing the cove with your coving trowel. Be sure not to wait too long or the tape will be difficult to impossible to remove. Be sure to keep your trowel clean so it doesn't drag the epoxy cove material and make it rough again. A great and effective way to both clean your trowel and slick up the cove is by using E2U's "Cove Glide". Generally 1oz of E2U Cove Glide mixed with 16oz. warm water is sufficient. Once the cove is smooth enough, remove the duct tape, carefully. Remove the tape at an angle, pulling the bottom first so the excess coving material on the tape stays on the tape and does not fall onto the cove. If pieces do fall on the cove gently remove the pieces and gently smooth out the damage. Use your margin trowel to smooth the top of the cove where you just removed the duct tape. Use the warm water and dishwashing detergent to keep your trowel clean and slick the top of your cove. Clean the excess material off from the bottom edge of your cove, unless you have already done this earlier. SEALING THE COVE After the coving material has hardened overnight, inspect and lightly sand out any minor imperfections. When in doubt, contact E2U Technical Support. Apply coating/sealer over the cove by brush or roller. Be sure that you do brush out or roll out any runs. Keep going back and checking for runs until satisfied that the glaze (top coating / sealer) will not run.WARNING! SLIP AND FALL PRECAUTIONS
OSHA and the American Disabilities Act (ADA) have now set enforceable standards for slipresistance on pedestrian surfaces. The current coefficient of friction required by ADA is .6 on level surfaces and .8 on ramps. E2U Flooring recommends the use of angular slip-resistant aggregate in all coatings or flooring systems that may be exposed to wet, oily or greasy conditions. It is the contractor and end users’ responsibility to provide a flooring system that meets current safety standards. E2U or its sales agents will not be responsible for injury incurred in a slip and fall accident.Handling Precautions
Use only with adequate ventilation. Appropriate cartridge-type respirator must be used during application in confined areas. Avoid contact with skin. Some individuals may be allergic to epoxy resin. Protective gloves and clothing are recommended.WARRANTY
E2U products are warranted for one year after date of purchase. Please refer to the Limited Material warranty for additional clarification.Weight | 15 lbs |
---|---|
Size | 1.5 Gal, 3 Gal |